
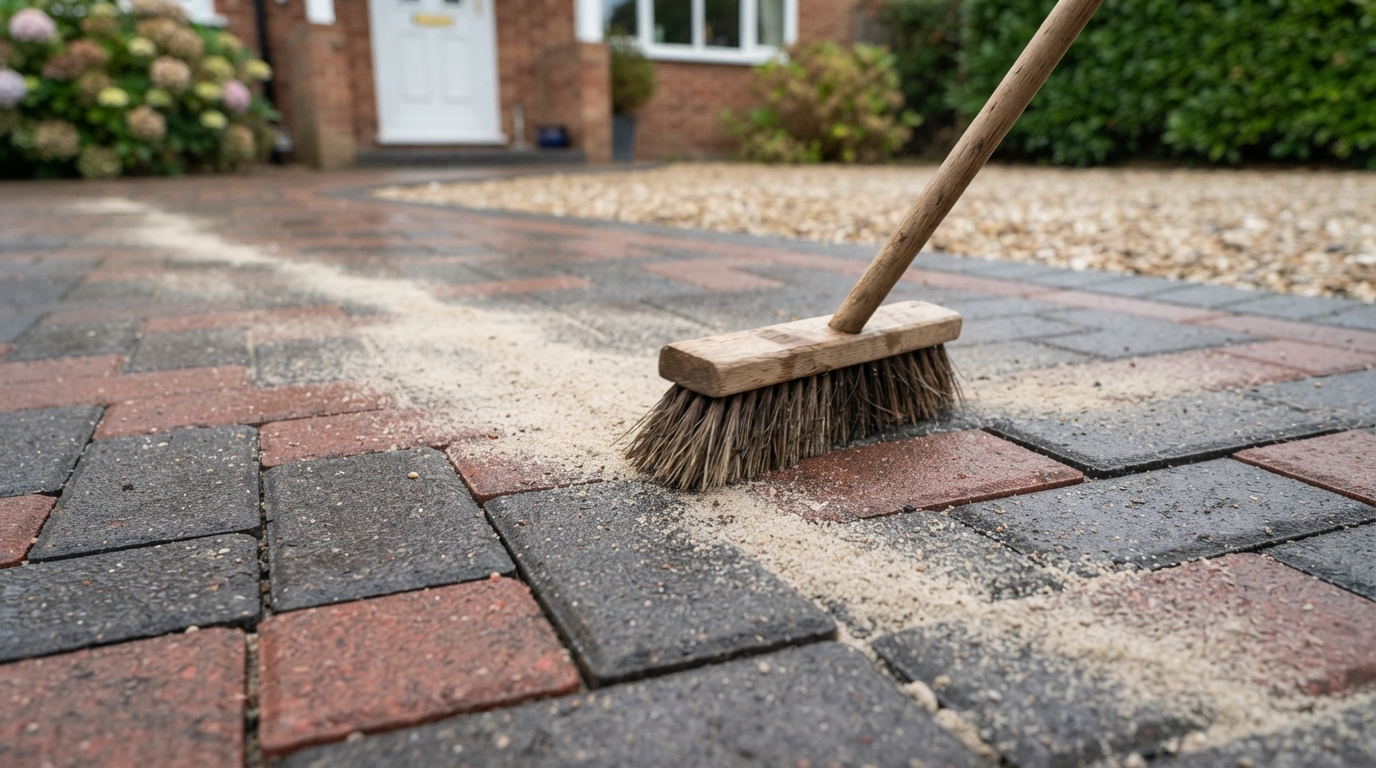
Cleaning block paving removes dirt, moss, algae, and weeds—but it also removes much of the existing jointing sand. Replacing that sand is an essential final step that stabilizes the paving blocks and restores the structural integrity of your driveway.
A block paved driveway or patio is a major investment that adds significant kerb appeal to any home across Sussex and Surrey. However, when homeowners arrange professional driveway cleaning, they often focus solely on the high-pressure washing process that blasts away moss and grime. What many do not realise is that jointing sand is not just decorative filler; it is the structural glue that holds flexible block paving together.
In this guide, we explain why re-sanding block paving is essential after cleaning, what happens when joints are left empty, the differences between traditional kiln-dried silica sand and hard-setting polymeric sand, and how proper re-sanding protects your driveway for years to come.
What Does Jointing Sand Actually Do?
Flexible block paving—the standard construction method for UK driveways and patios—does not rely on mortar or concrete beneath the blocks. Instead, individual concrete or clay blocks are laid on a compacted bed of sharp sand over a stone sub-base.
The structural strength of the entire driveway comes from frictional interlock. When fine silica sand is brushed tightly into the 2mm to 5mm joints between adjacent blocks, it creates mutual friction. When a heavy vehicle drives onto the driveway, the load is spread laterally across dozens of interlocking blocks rather than concentrated on a single point.
Jointing sand serves three critical functions:
- Load Distribution: Spreads vehicle weight evenly to prevent individual blocks from sinking or tilting under tire pressure.
- Edge Cushioning: Prevents block edges from rubbing directly against each other, avoiding unsightly chipping and spalling.
- Joint Stabilization: Seals joint voids against excess rainwater infiltration that could wash away the underlying bedding layer.
Why Pressure Washing Removes Jointing Sand
Over time, original jointing sand becomes contaminated with windblown soil, organic matter, moss roots, and weed seeds. To perform a thorough clean, technicians use rotary surface cleaners and targeted high-pressure lances to lift deep-seated dirt, algae stains, and weed taproots.
Because high-pressure water jets must penetrate deep into joint crevices to extract moss anchors, they inevitably wash out 15mm to 30mm of the old, contaminated jointing sand. While this cleans out the organic silt that feeds weeds (as detailed in our article on why weeds grow between block paving), it leaves the upper joint voids open and vulnerable.
What Happens If You Don't Re-Sand Block Paving?
Leaving block paving unsanded after pressure washing is one of the most common mistakes made during DIY cleaning or by inexperienced contractors. Without replacement jointing sand, a block paved surface quickly deteriorates.
Here is what happens when joints are left empty or under-filled:
| Feature / Issue | Without Re-Sanding | With Re-Sanding |
|---|---|---|
| Block Stability | Blocks wobble, rock, and shift under car tires | Blocks locked tightly in place with full frictional interlock |
| Block Edge Damage | Direct block-on-block rubbing causes chipped edges | Sand cushion prevents contact damage and spalling |
| Sub-Base Protection | Rainwater pours down joints, washing out sharp sand bed | Joints shedding surface water efficiently to drainage points |
| Weed Resistance | Open voids collect fresh seeds and fill with weeds in weeks | Filled, biocide-treated joints resist seed establishment for 12–24 months |
| Visual Appearance | Gaping black gaps that look unfinished and neglected | Crisp, neat, uniform joint lines restoring original aesthetic |
How Re-Sanding Helps Keep Blocks Stable
When clean, bone-dry silica sand is brushed across the surface, its microscopic angular grains flow deep into every joint crevice. Compacting or vibrating the sand into the joints ensures no air pockets remain.
Once filled, the sand grains lock against the textured side walls of the concrete blocks. This friction transforms hundreds of separate paving units into a single cohesive, rigid slab. When vehicle tires steer or brake on a properly sanded driveway, the lateral forces are safely dissipated across the entire installation, preventing dip formation and block displacement.
Does Re-Sanding Stop Weeds?
A frequent question from homeowners in Crawley, Horsham, Guildford, and across Sussex and Surrey is whether re-sanding permanently prevents weeds. It is important to be realistic: no outdoor jointing material can completely stop windblown seeds from ever landing on top of a driveway.
However, fresh jointing sand plays a key role in weed prevention when combined with professional soft-wash biocide treatments:
- Eliminates Root Space: Tightly packed sand leaves no loose pockets or soft soil for airborne seeds to germinate easily.
- Biocide Barrier: Treating joints with a residual BAC50 biocide before and after sanding sterilises deep joint crevices, killing dormant spores.
- Hard-Setting Sand Options: Using polymeric jointing sand creates a solid, flexible barrier that prevents weed roots from pushing deep and stops ants from excavating sand mounds.
To learn more about keeping all your outdoor paved areas looking their best, explore our professional pressure washing and patio restoration services.
Kiln-Dried Sand vs Polymeric (Hard-Setting) Sand
When restoring block paving, two main types of jointing sand are used: traditional kiln-dried silica sand and modern polymeric (hard-setting) sand. Both products have distinct advantages depending on driveway age, joint width, traffic, and budget.
| Feature | Kiln-Dried Sand | Polymeric / Hard-Setting Sand |
|---|---|---|
| Composition | 100% fine, dry silica sand Grains | Graded silica sand blended with polymer binders |
| Setting Mechanism | Remains granular; relies on mechanical friction | Cures and hardens when activated with a fine water mist |
| Cost Level | Highly economical & budget-friendly | Higher material cost due to advanced polymer additives |
| Rain Wash-out Resistance | Moderate; can wash out on steep slopes under torrential rain | Excellent; hardens into a water-resistant, flexible joint |
| Ant & Pest Resistance | Standard; ants can excavate fine sand over time | Outstanding; hardened barrier prevents ant burrowing |
| Best Suited For | Standard residential driveways, tight joints (2–5mm), routine maintenance | Wider joints, sloped driveways, high-traffic areas, maximum weed control |
Which Type of Sand Is Right for Your Driveway?
At Skyhawk Exterior Cleaning, we don't believe in a one-size-fits-all approach. We inspect every driveway individually to recommend the most suitable jointing sand:
- Choose Kiln-Dried Silica Sand if: You have a flat or gently sloping block paved driveway with tight 2mm–4mm joints, want a cost-effective structural refresh, and plan to maintain the driveway every 1 to 2 years with routine biocide treatments. Read our article on how often driveways should be cleaned for further timing guidance.
- Choose Hard-Setting Polymeric Sand if: Your driveway sits on a steep incline prone to heavy rainwater wash-out, has wider joints (3mm–8mm), suffers from chronic ant infestations, or you prefer a durable joint that stays firm and resists weed root penetration.
Why Professional Installation Matters
While sweeping sand into driveway joints might sound like a simple DIY task, doing it incorrectly can ruin the appearance of your paving:
- Driveway Dryness Is Crucial: Block paving must be 100% bone dry before applying sand. If kiln-dried sand is brushed onto damp blocks, it sticks to the block surfaces, clumps in upper joint edges, and fails to drop deep into joint crevices.
- Polymeric Haze Risks: If polymeric sand is not thoroughly swept and blown off block faces before misting with water, the polymer binders cure on top of the blocks, leaving a stubborn, milky white haze that is extremely difficult to remove.
- Compaction Technique: Professional contractors brush in sand in multiple directions and use rubber-matted plate compactors or soft brooms to force sand deep into joints, ensuring maximum density and zero hollow voids.
Real Homeowner Example: The Difference Re-Sanding Makes
A homeowner in Reigate, Surrey, had their 80m² block paved driveway pressure-washed by a general handyman who failed to re-sand the blocks afterwards. Within three months of heavy winter rain and daily parking:
- Several blocks near the garage entrance had tilted, creating tripping hazards and catching on low car bumpers.
- Rainwater was washing away the bedding sand layer underneath, forming a 50mm depression where water pooled after every shower.
- Dandelions and chickweed had choked every open joint crevice.
Skyhawk Exterior Cleaning was called in to rectify the driveway. We lifted and re-levelled the sunken blocks, applied a soft-wash biocide treatment to sterilize joint roots, allowed the driveway to dry completely over 24 hours, and brushed in 6 bags of kiln-dried silica sand, compacting it firmly into every joint line.
The result restored full structural stability, eliminated block movement, and transformed the aesthetic from neglected to brand new. Two years later, the driveway remains level, firm, and clean.
Key Takeaways
- Re-Sanding Is Essential: Jointing sand provides the friction interlock that holds flexible block paving together under vehicle loads.
- Pressure Washing Removes Sand: Deep pressure cleaning naturally extracts old contaminated sand along with moss and weed roots.
- Skipping Re-Sanding Causes Damage: Empty joints lead to wobbly blocks, chipped edges, sub-base erosion, and rapid weed infestation.
- Choose the Right Sand: Kiln-dried sand is economical and ideal for standard joints; polymeric sand hardens to resist wash-out, weeds, and ants.
- Timing & Dryness Matter: Paving must be completely dry before re-sanding to prevent surface staining and ensure sand reaches the bottom of every joint.
Frequently Asked Questions
Why is re-sanding necessary after cleaning block paving?
Re-sanding is necessary because high-pressure cleaning washes out old, contaminated jointing sand. Without sand, individual blocks lose structural friction, leading to wobbling, cracking, sinking, and rapid weed infestation.
Can I leave block paving without sand?
No. Leaving joints empty compromises structural integrity. Vehicle weight causes unsanded blocks to shift, chip against adjacent edges, and allow surface water to wash away the sub-base layer below.
Does pressure washing always remove jointing sand?
Yes. Any pressure washing effective enough to blast away moss, lichen, and weeds will naturally wash out the top 15mm to 30mm of jointing sand from between the blocks.
Does kiln-dried sand stop weeds?
Kiln-dried sand fills joint voids to prevent windblown weed seeds from taking root immediately. When combined with a soft-wash biocide treatment, it keeps driveways clean for 12 to 24 months.
What is polymeric or hard-setting sand?
Polymeric sand combines fine sand with water-activated polymers. Once misted with water, it hardens into a durable, flexible joint that resists weed growth, ant burrowing, and rain wash-out.
Which type of jointing sand lasts longer?
Hard-setting polymeric sand generally lasts longer against heavy rain wash-out and ant activity, whereas standard kiln-dried silica sand is economical, easy to refresh, and ideal for standard driveways.
Should every block paved driveway be re-sanded?
Yes. Every flexible block paving system relies on sand friction for structural interlock. Skipping re-sanding leads to movement, dips, and premature driveway failure.
Can I re-sand my block paving driveway myself?
While sweeping silica sand into dry joints is straightforward, the driveway must be 100% dry beforehand. Brushing sand into damp joints causes clumping and leaves hazy white stains across block faces.
How long after cleaning should re-sanding be carried out?
Re-sanding should be completed once the paving and joints are completely dry—typically 24 to 48 hours after pressure washing depending on weather and sunlight.
Is re-sanding worth the extra cost?
Absolutely. Re-sanding protects a multi-thousand-pound investment. It prevents costly block displacement, sub-base erosion, and expensive relaying costs down the line.
Arrange Your Free Driveway Restoration Quote Today
Want your block paved driveway or patio professionally cleaned, biocide-treated, and expertly re-sanded? The team at Skyhawk Exterior Cleaning provides fully insured, expert exterior cleaning across 130+ locations in Sussex and Surrey.
Explore our frequently asked questions or get in touch today to see how we can restore your driveway.
Arrange a free video call quote, call our friendly team on 01293 922 243, or explore our complete range of exterior cleaning services today.